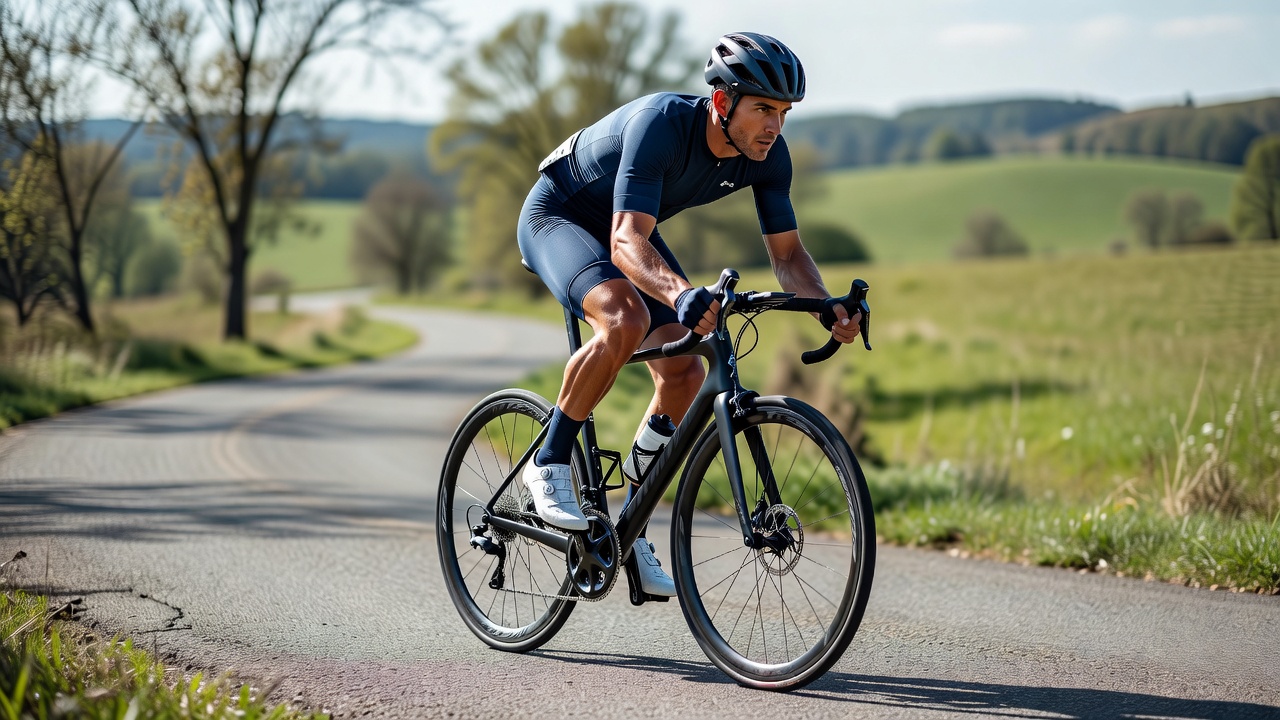
Start with the physical quantity
A cycling power meter typically combines a measurement related to torque with rotational velocity to calculate mechanical power. Strain gauges detect very small deformations in a component; electronics translate that response into a usable signal. The displayed watt value is therefore not a direct measurement of fitness, fatigue or metabolic energy expenditure. It is a calculated estimate of mechanical output at a particular location, subject to the device’s design and operating conditions.
That location matters. Pedal-based systems sit upstream of the chain. A crank-arm or spider-based system also measures before the rear drivetrain. A direct-drive trainer usually observes output farther downstream, using its own sensing or estimation method. Chain condition, transmission losses and different processing behaviour can contribute to disagreement. A fixed difference between two devices does not automatically identify either one as faulty.
Separate total measurement from estimation
A single-sided crank meter generally measures one leg’s contribution and doubles it to estimate total power. If the rider’s contribution is not evenly distributed, the estimate can shift even when actual total output does not. Balance may change with fatigue, position, injury or effort. This does not make a single-sided device useless; it means its assumptions belong in the interpretation, especially when moving between indoor and outdoor equipment.
Dual-sided pedal systems can measure left and right contributions separately, but availability of a balance channel does not establish a clinical diagnosis. Some spider systems derive balance from different portions of the crank rotation rather than independently measuring each leg. Read the manufacturer’s definition before comparing balance fields across products. Garmin Rally, Favero Assioma, SRAM Quarq, SRM and Shimano systems illustrate why product-family names alone are insufficient: confirm the exact model and supported channels.
Power at the sensing location, cadence and device-defined balance.
Improved fitness, muscular fatigue or a position-related limitation.
Install before you troubleshoot
Use the correct spindle, crank length setting, washers and torque procedure for the specific product. A pedal power meter entered with the wrong crank length may report a systematic error. A crank-arm meter also needs sufficient frame clearance, including under load. Follow the bicycle and sensor manufacturers’ instructions rather than borrowing a torque value from a different component. If installation is outside your competence, use a qualified mechanic.
Inspect battery contacts, seals and approved charging methods. Moisture, damaged seals or an incompletely seated battery cover can cause intermittent behaviour that looks like a wireless problem. Record the device serial number and current firmware before changing anything. Make one change at a time so the resulting test actually tells you something. A fresh installation deserves a representative ride, not just a successful pairing screen.
Understand the zero-offset check
Many head units label a zero-offset procedure “calibration.” In practice, this usually establishes an unloaded reference rather than checking accuracy against a known torque standard. The exact procedure varies: a manufacturer may specify crank orientation, no load on the pedals, temperature settling or particular warm-up conditions. Some devices manage parts of this automatically. Follow the relevant instructions and record repeated failures instead of treating every unusual number as a reason to recalibrate.
- Confirm the correct device and crank length where applicable.
- Inspect installation, battery condition and mechanical clearance.
- Follow the manufacturer’s unloaded reference procedure.
- Record a short ride with steady work, coasting and cadence changes.
- Inspect the saved file rather than only the live display.
Compare devices without inventing certainty
When comparing a trainer and a bicycle meter, record both simultaneously on independent devices where possible. Align timestamps and examine steady sections before inspecting rapid accelerations. Display smoothing, recording intervals and response delays can make short peaks look different even when longer averages are close. A single sprint is a poor basis for applying a correction factor to an entire season.
Look for repeatable patterns across multiple efforts and conditions. A consistent offset, intermittent zeros and temperature-dependent drift suggest different investigative paths. Keep the original recordings and document the setup. If a device behaves outside its published specifications, send the manufacturer a clear description and representative files. Do not quietly adjust historical data until the problem and the correction method are understood.
Terminology note: accuracy is not repeatability
Accuracy concerns closeness to a suitable reference. Repeatability concerns consistency under similar conditions. A device can be repeatable while consistently offset; comparing two unverified devices does not provide an absolute reference.